

So here we are! We have made ourselves a pattern in Part I, and now I'm going crazy with anticipation about getting this top constructed and on my person. Let's get to it!
Assemble your stuff:
- Iron and ironing board
- fabric cutting scissors
- pins
- tape measure
- washable marker
- pattern weights, heavy washers or canned goods
- 2 1/2 to 3 yards of 42/44" wide plaid flannel, washed, dried and pressed
- good thread
- fusible interfacing
- 15-20 prong snaps
- your pattern from Part I
A NOTE ABOUT YOUR FLANNEL CHOICE:
Pick a quality flannel that looks the same on both sides. It is important to this project as the cowl will show both sides of the fabric. Plus, it is just nicer to work with quality stuff, like good fabric, new needles, good thread, etc. I'm not going to tell you to throw out your old, bent pins or your ancient needles, but it is an investment of your time and effort....so why get cheap on that stuff?

TIP THAT IS GOING TO SOUND PREACHY: and that is the importance of having a steam iron. If you think you can skip pressing your seams and folds, be prepared to look at your finished product and say "gosh, I wish I was better at sewing." An iron is an essential tool in home sewing: haul out that ironing board and set it up!
Let's start cutting!

CUT YOUR FABRIC: On a large, flat surface, lay out your washed/dried/pressed flannel. You want to spend some time figuring out your pattern piece placement so all your pieces have the same direction. Prioritize matching the plaid on the front pieces, then work with your "cut on fold" pieces. Pay attention to grain lines, but you probably already know that! I'm sorry I can't give you an exact fabric yardage; in my case, 2 1/2 yards of 44" width flannel works. The original pattern yardage is a good guideline and add 1/2 yard extra for the cowl.
 |
| RIGHT FRONT & LEFT FRONT |
Once you have your pattern pieces arranged, weight down the heavy paper pattern pieces and trace around them with your washable marker, including markings. Pin tissue pattern pieces if you like. Take a deep breath and start cutting! For ease of future discussions, lets name our FRONT pieces: nothing special, just RIGHT FRONT and LEFT FRONT. Right front is the bigger piece and crosses the chest to overlap left front; left front is smaller and will have the receiving snaps. Moving on.
 |
| Line up the fronts so the plaid is matching at the shoulders. |
 |
| Trace around with chalk or a washable marker |
 |
| Ready to cut inside chalk lines! |

 |
| Pattern marks: make a 1/4 snip in the fabric at mark. |
 |
| I cut my cuffs on the bias for a little design detail |
1. STAY STITCH THE DIAGONAL EDGES ON RIGHT FRONT AND LEFT FRONT. Since the cut is on the bias, it will want to stretch. You don't want that.
 2. SNAP PLACKETS: We are going to apply interfacing to the front pieces. Take your pattern piece named SNAP PLACKET and cut 1 of interfacing. While you have your interfacing out, cut another piece out: make it 1 1/2 inches wide and about 30 inches long.
  Take your fabric SNAP PLACKET and place the interfacing SNAP PLACKET with the smooth, nonsticky side on the right side of the fabric SNAP PLACKET.
  Stitch interfacing to fabric, using a 1/4 inch seam down the long side.
  Turn the interfacing over so the sticky side is on the wrong side of the fabric: fuse the interfacing to the fabric using your steam iron and following manufacturer directions. This is an efficient way to do interfacing while taking care of raw edges.
  |
| Interfaced SNAP PLACKET, raw edges fused inside. |


Working on the RIGHT FRONT of the top, shown here on the left, take your 1 1/2 interfacing strip that you cut out and place the nonsticky side along the long diagonal edge on the right side of the RIGHT FRONT. Stitch a scant 1/4 inch seam along the edge; fold interfacing over to the wrong side and apply steam to interfacing to fuse in place. Now, fold the interfaced portion over 1 inch to the inside and press; open it up again, feel free to now admire your nice fold line you just pressed.
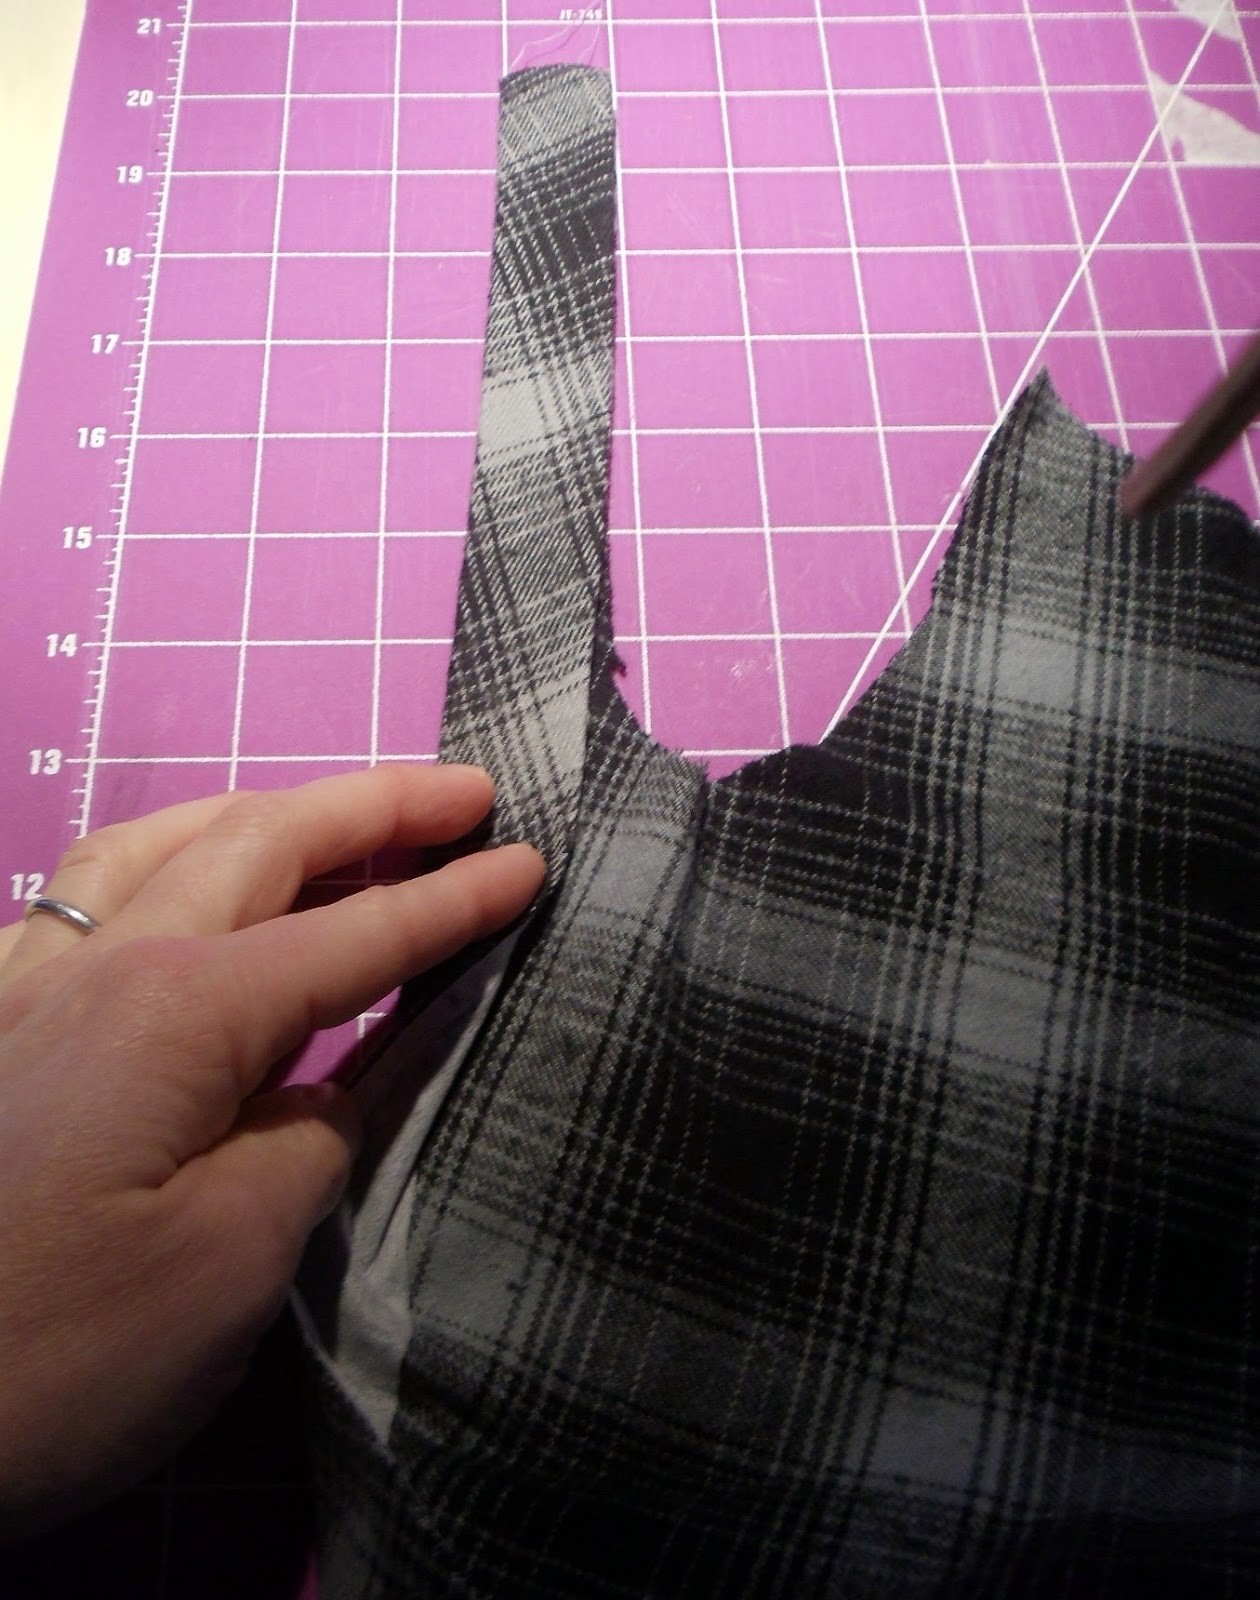 |
| Interfaced RIGHT FRONT, folded under 1 inch. |

 |


 |
| Flat-felled shoulder seam |
ANOTHER PREACHY SOUNDING TIP, BECAUSE I CARE: clip those threads right down to the nub as you go. Don't wait. Having hanging threads is annoying, especially at the end when you are excited to put your new top on and have to go and find all your long threads.

 |
| matching up the sleeves to fronts and backs |
 |
| pinning in preparation for flat-felled seam. |
 |
| Pressing the flat-felled seam |
 |
Finished shoulder flat-felled seam. Yay!
5. SIDE SEAMS: The pattern directions will tell you to lay blouse front on blouse back, right sides together, matching marks. Baste. Stitch. I'll tell you to do that, and keep on going, pivoting as you go into sleeve territory. So now you have a side seam and and your sleeve is a sleeve. A clean finish is nice. Make yourself proud by finishing those edges. If you are unfamiliar with finishing edges, check out http://sewmamasew.com/blog2/2008/05/seam-finishes-simplified/. I really like any of these finishes, but am partial to the Clean Finish Edge. Check them out! Oh, and press those seams open!!!
I laid my top out flat and straightened it out, lining up my front snap plackets so they overlapped like they will on the finished product. The overlapping placket (RIGHT FRONT) was too long at the top, so I trimmed it so it was level with left shoulder seam. Lay your top out and do the same.  |
 |
| Add caption |
 6. CUFFS: Follow the pattern directions for stitching your cuff to the sleeve. There is probably a placket (I finished mine with bias tape) and some tucks involved. This part is pretty much between you and your pattern. Go ahead....I'll wait.
 |
| cuff placket finished with bias tape.
7. And now, the piece de résistance...THE COWL. Being that I've never actually seen the original other than in pictures, I did a lot of thinking (and a muslin) to come up with the right look. This is the part where I am humble and have no problem taking suggestions and ideas from you all! Oh, and this part requires patience, so take your time and don't rush. This is what worked for me.

On the diagonal edges of the cowl, turn under 1/2 inch and press, then turn under another 1/2 inch and press.

Spread out the FRONTS AND BACK along the neckline so it is a straight-ish line; line up the shortest length of the cowl next to it. Start pinning the cowl to the RIGHT FRONT, right sides together, on the neckline 1/2 inch from the end.

I drew a green line 1/2 inch from the end so I knew where to start pinning. Continue pinning cowl around neckline, ending on the LEFT FRONT in that 1 1/4 inch area where you ended your stitching of the placket to the left front.

At this point, you may find, as I did, that you have too much cowl left over upon reaching the end. Measure how much is left over (mine was 1 1/2 inches of cowl). Take a deep breath, remove your pins, and head back to your ironing board with the cowl.
    Turn the PLACKET back to the right side and press the seam.  Press down that little 1/2 inch end Press down that little 1/2 inch end 
Line up 1/2 inch fold over the shoulder seam.
 ...and tack it by hand to the shoulder seam.
Now, hang your top on a hanger; arrange top so the RIGHT FRONT laps over the LEFT FRONT, placing pins to hold in place. Notice that the cowl hems overlap, too. The RIGHT FRONT PLACKET has a squared end that comes up to the left shoulder seam. That's good! We are just making sure everything lines up correctly. Take top off hanger and head back to the ironing board.

Press the top edge of the COWL under 1/4 inch, then another 1/4 inch. See images below to get it to look nice and neat. Stitch very close to folded edges up both sides, then across the top. Press. Whew! Time for....
       Next mark your snap placement chalk marks using a needle and thread! Here, I'll show you.... MINI TUTORIAL WITHIN A TUTORIAL: MARKING BUTTON/SNAP PLACEMENT WITH NEEDLE AND THREAD!  Pick up a stitch through all layers.        Cut your threads between the layers. Voila! Thread markers for your snap placement. Repeat for all snap markers.
Count how many snaps you need, including the two snaps for the cuffs. I needed 15 total. Use your snap setting tool to set snaps on front and cowl. Set snaps on cuffs, too. I do the "outie" snap on the overlapping part, and the "innie" snap on the overlapped part. Take your time. I'll wait.
9. HEM THE BOTTOM. Here is where I forgot to heed my own advice and didn't do a stay-stitch along my diagonal fronts! After hanging my head in shame, I moved on and laid out the top in front of me to determine where it was too long in the front. After trimming it and vowing to learn from my mistake, I continued. Hem according to pattern directions. For my pattern, that involved the instructions to turn hem under and press. Turn raw edge under and baste. Topstitch 1/4 inch from lower edge of blouse, catching hem.
 My expression doesn't mirror my inner joy....I'm pretending I'm a model and they always look a bit grouchy. Cowl close-up. Can be pulled up over your head like a hood, or unbuttoned a little and arranged in a jaunty manner. |
Stick a fork in you, you are done! Victory squeal! Wear with pride, and I would love to see pictures if you get the notion. I hope this was helpful and rewarding, and do let me know if you have a suggestion or an edit that would clarify anything. Much love to you all :)


